
In this article you will learn how to design a blog and create content in WordPress.
After you’ve learned how to create your website, it’s time to do some design work.
Remember that for create a blog you must follow the following steps:
- Choose a domain.
- Choose a hosting service.
- Install WordPress.
- Start creating content for your blog.
- You can find the guide to follow these steps by clicking here.
If you have already completed the steps above, you can learn how to design a blog. So let’s get started…
How to design a blog.
To learn how to design a blog, you must enter the WordPress dashboard or control panel. To do so, you just have to write the name of your website in the browser, followed by “/wp-admin”.
In this article we will continue with the example we created in the previous article. So in our case, we write www.fitnessmode.co/wp-admin.
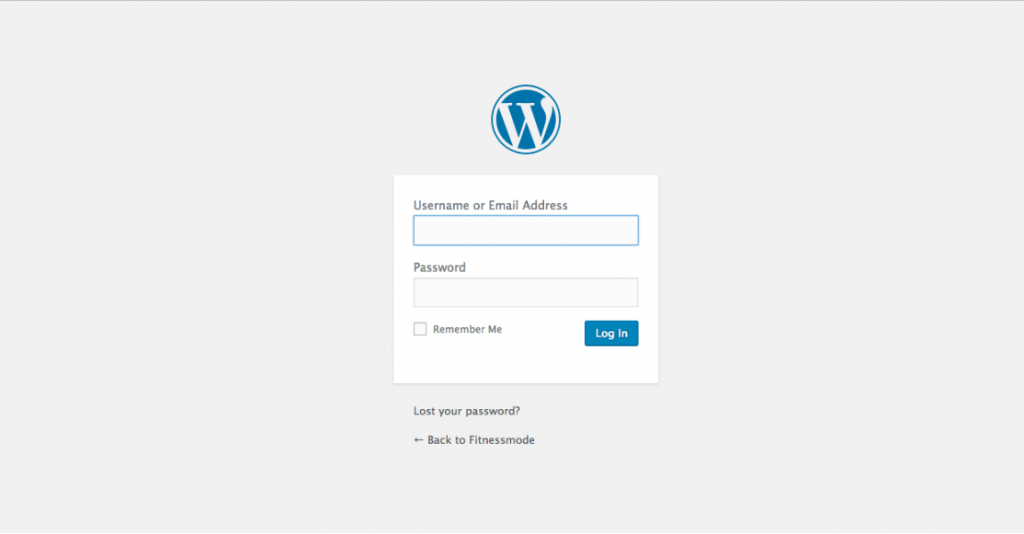
Then you will write your username and password and click on the button log in. Once you enter, you can work on the design of your blog and control all its functions.
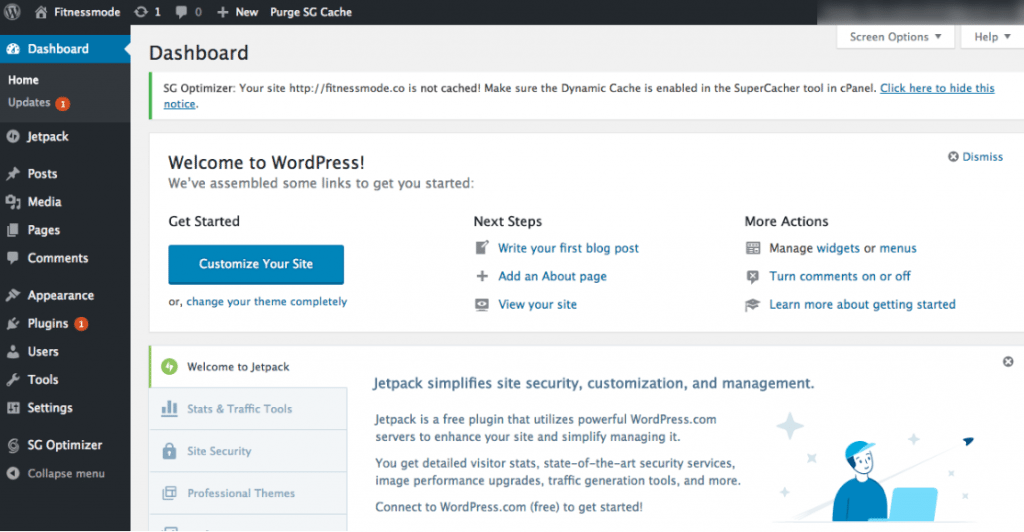


1. How to select a WordPress template
To learn how to design a blog, you must select a themewith which you can modify the entire appearance.
When you visit your blog for the first time it will be working with the template twenty seventeen (A free template that works by default on all new WordPress blogs)
And it looks like this…
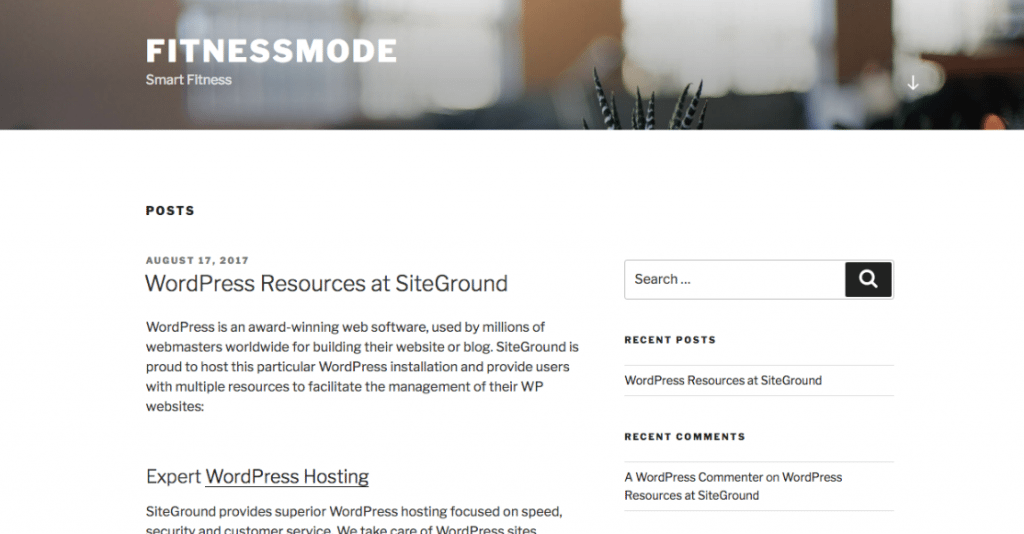


Surely this is not what you are looking for, which is why you will need personalize your blog. For this you will need to modify this template or install a template that goes more with your style.
There are thousands of options depending on the type of website you are looking to create. Some templates are free. So let’s first find the free wordpress templates.
To do so, look in the left panel for the option Appearance – Themesclick on themes. How can you see my dashboard is in English. If yours is in Spanish, look for the option Appearance – Themes.
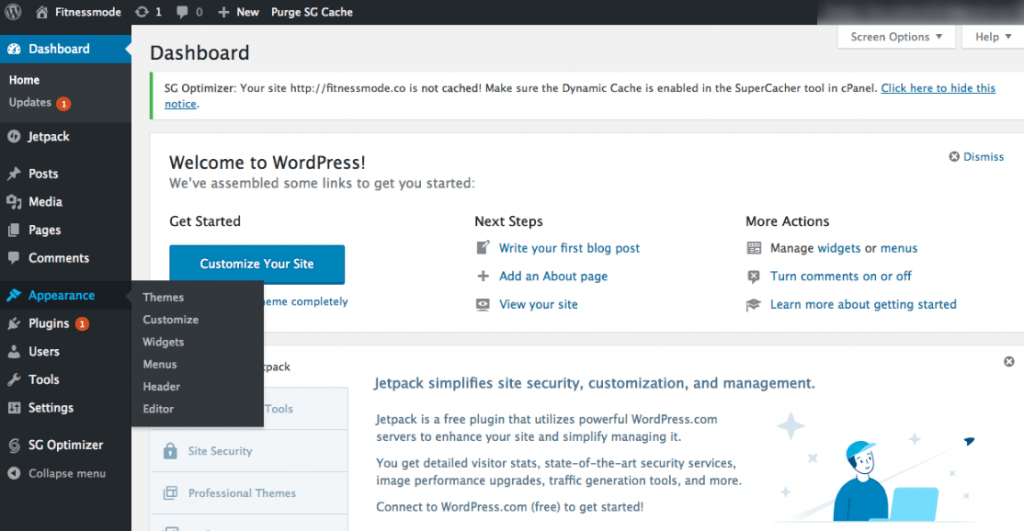


Below you will see the three basic WordPress themes: Twenty sixteen, Fifteen and Fourteen.
Then you will see an option at the bottom that says Add a new topic. Click there.
On this page you will see more than 4000 themes totally free and ready to use. You can filter by Featured, Popular, Recent, or Favorites. You can even search for themes, according to the theme of your blog.
In this case I will write the word “Fitness” in the search engine, since that is the theme of the test blog that we are creating as an example.
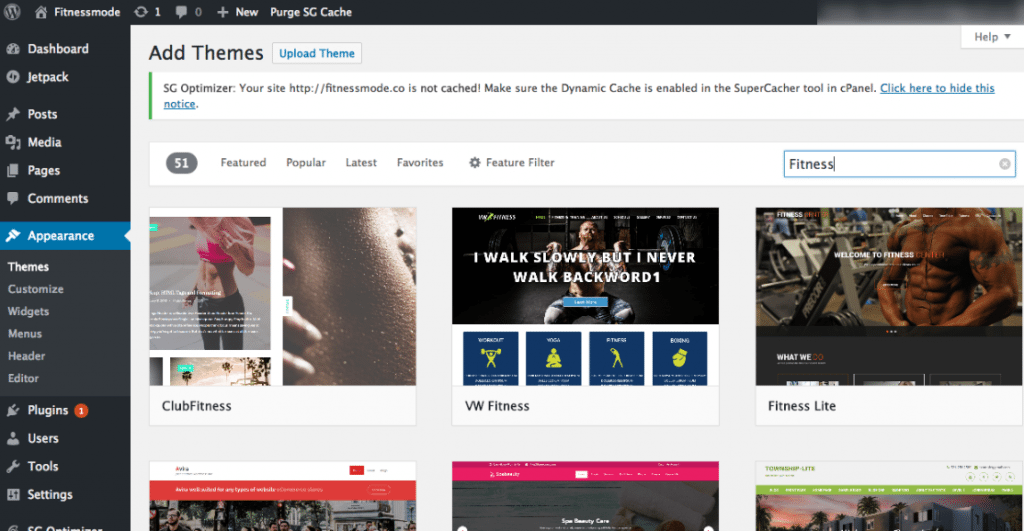


As you can see I got 51 results related to the topic Fitness. Enough to start.
When you find the theme you like, just hover your mouse over it and click the button install.
After that the install button will be replaced by the button Activate. Click for activate the theme.
For this example I chose the theme “Zerif Lite”, (totally free) in the WordPress directory. You can also select it if you wish.
After installing and activating your new WordPress template, you are ready to start customizing your blog. To do so, click the button customize.
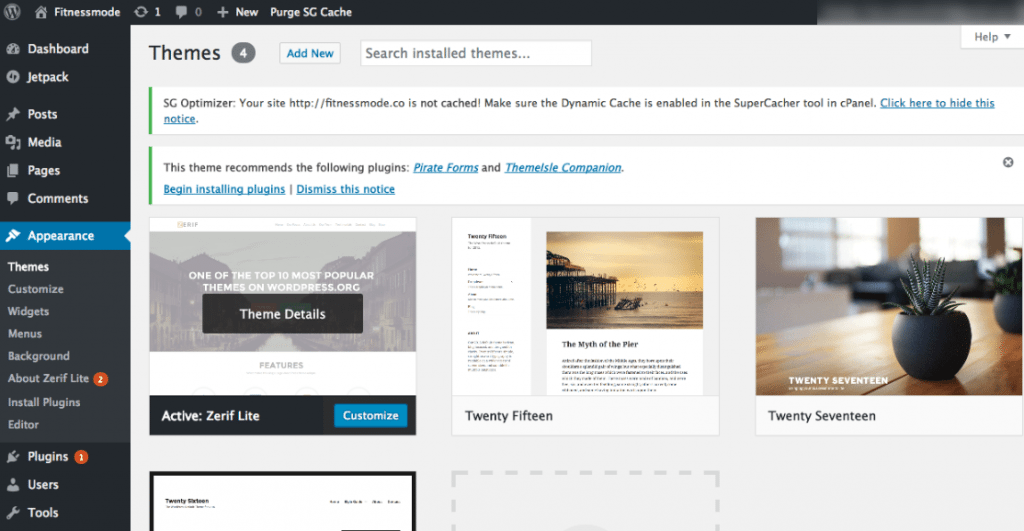


A complete tutorial can be made on how to customize the Zerif Lite theme. However, for the purposes of this post, we will only use its basic options; which will be enough to get you started.
If you want to explore more about this template on your own, we invite you to do so, its functions are very clear and easy to understand. And so you will learn more strategies on how to design a blog.
Being in the section customize either personalization, you will notice that in the left panel are all the sections of the page. For now we will modify the section called Site Identity or identity of the site.
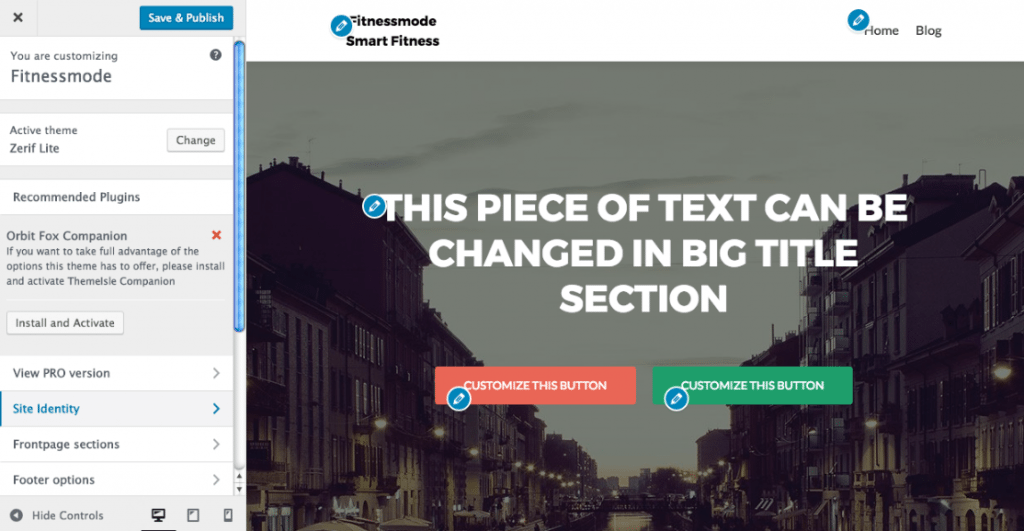


The only thing we will do in this section is upload our logo. In our case, we use a very simple logo that we created in Word.
Just find a font you like and type the name of your blog. Take a screenshot of the name and that’s it; You have a logo that is perfect to begin with. Click on Select Logo.
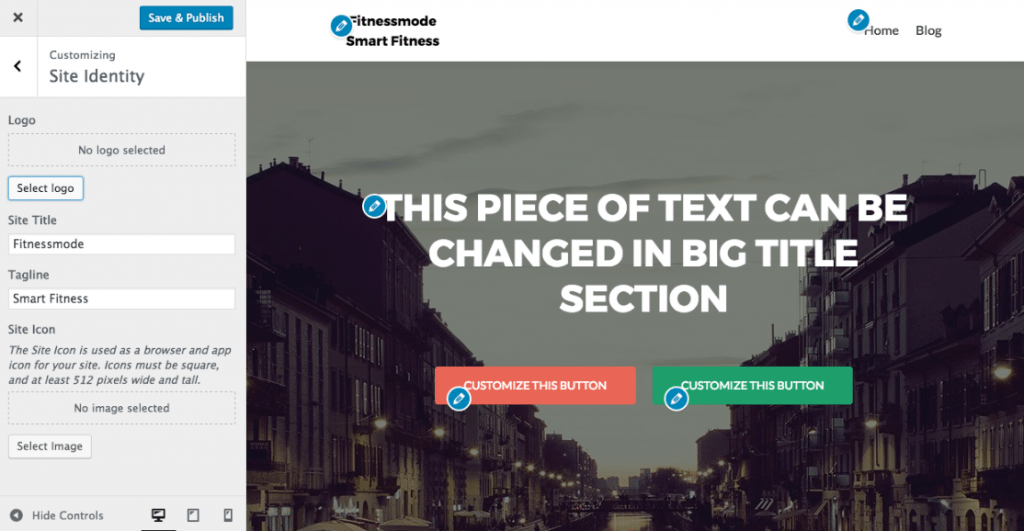


Then on the tab upload files you will see in the center of the screen the option Select Files, where you should click Then select the logo you made.
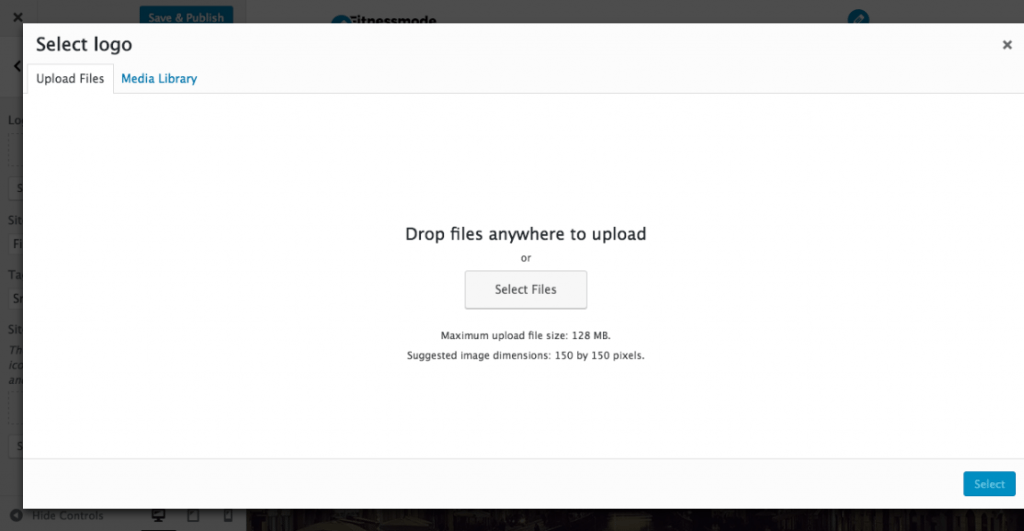


As you can see we made a very simple logo, but as we have mentioned, it is just what is needed to start.
For now, do not stop perfecting this type of thing, the most important thing is that you create version 1.0 of your page. Every time you want to save changes, click on the blue button that is on the upper side and to the left; what does it say Save & Publish.
How you can see the main page has different sections active such as Features, Your team, Testimonials, Contact and Latest news.
Depending on what you want, you can leave them or delete them in the part Front Page sections inside the menu customize. Remember that although each theme It has different options, the way to customize them is very similar.
After we have added our logo, we are going to change the photo that appears at the top of our page.
How is a fitness blog we will upload a related photo. To do it go to Frontpage Sections – Big Little Section and finally click on Parallax Effect. You will see two images. Replace the first image with yours in Change Image and delete the second image. then click use Parallax Effect.
The parallax effect is an effect that makes the game look more interesting. scroll of your page. Test it. Just like this, there are many other tips for you to learn how to design a blog.
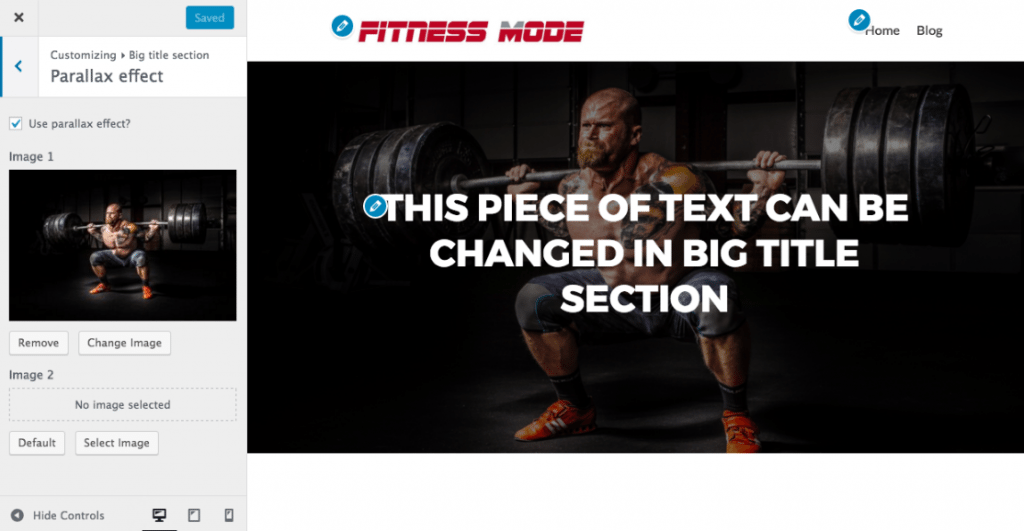


Now let’s just change the text above the photo that says “This piece of text can be changed in big title section”.
As the phrase says, we must go to Big Title Section and click on Main content. In the section Title you can change it In this case we will use a phrase related to the topic of the blog, for example: If you want to see yourself and feel good, enter the Fitness Mode attitude.
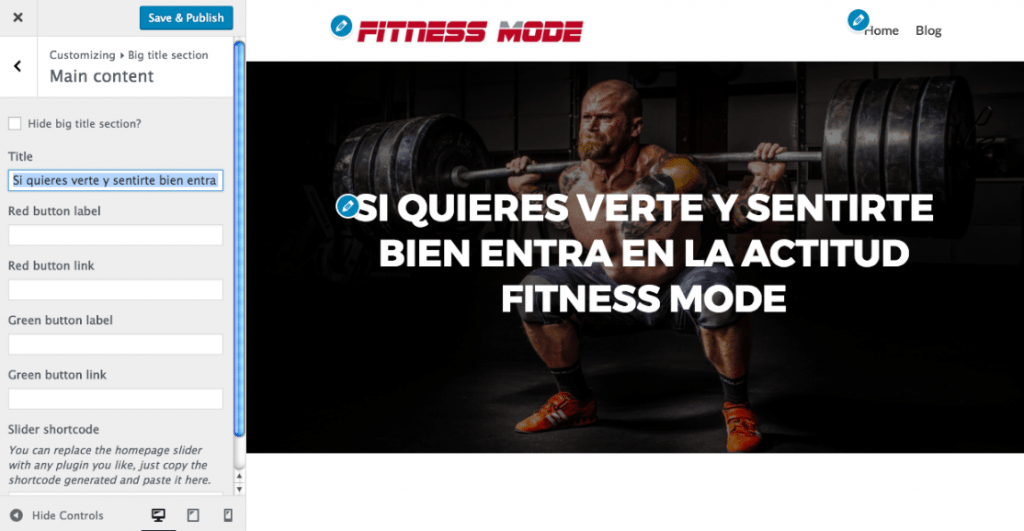


As we mentioned earlier for the purposes of this article, we are not going to delve further into editing this template, since it has many other functions that are not relevant for creating version 1.0 of your blog for now.
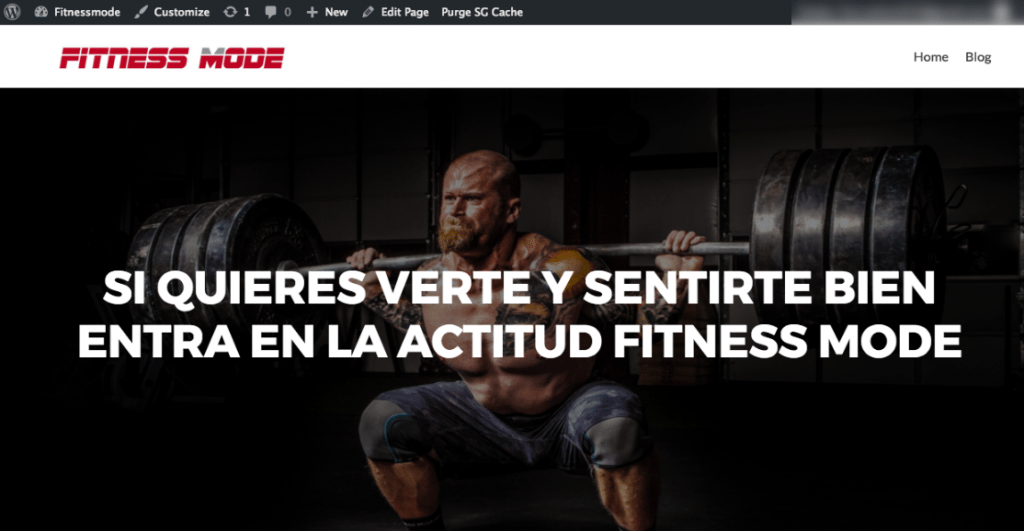
Take a look at your new blog by opening another window and entering your domain. In this case we will do it with fitnessmode.co.


How to create pages in wordpress.
WordPress comes configured with two types of content, called post Y pages. In Spanish New entries Y pages.
post either new entries are the articles that appear in reverse chronological order. That is, the last to be created is the first in the list.
Secondly pages either pages they are static pieces of content. For example when you see in the main menu: about us, contact us, or privacy policy; among other. Those sections are pages.
To start, let’s create a new page on your website. It doesn’t matter if you don’t have enough content to start with, you’ll have time to edit them later.
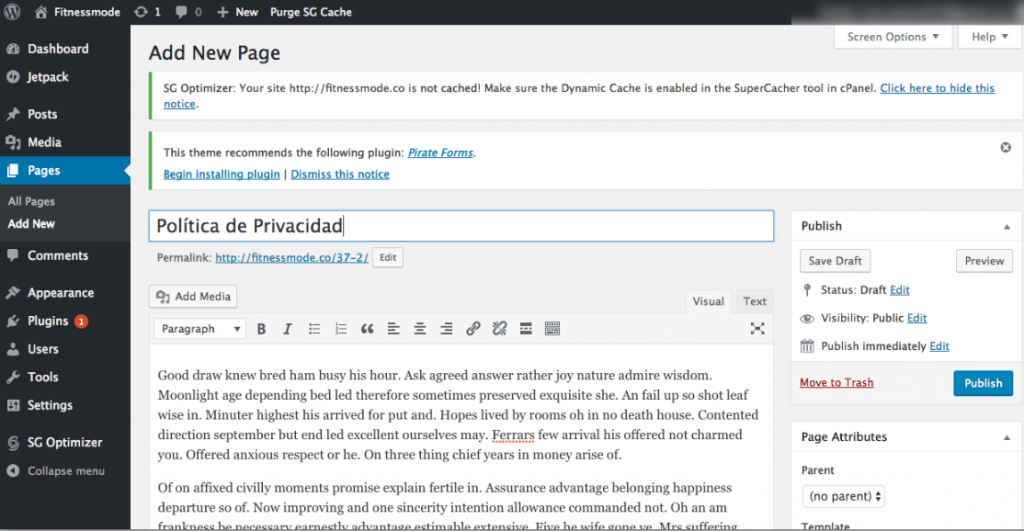


In our case we already have created the pages home Y Blogwhich come by default with the theme that we installed (This does not happen with all themes). As an example we will create the page of Privacy Policy.
Mouse over the option pages and then click on add new. You will then enter the page editor.
In the part that says “Enter title here” we will write “Privacy Policy”. And in the text editor we will enter the content corresponding to this page.
Since it is an example page, we will use random text. Then click on Publish. You can enter images and videos if you wish.
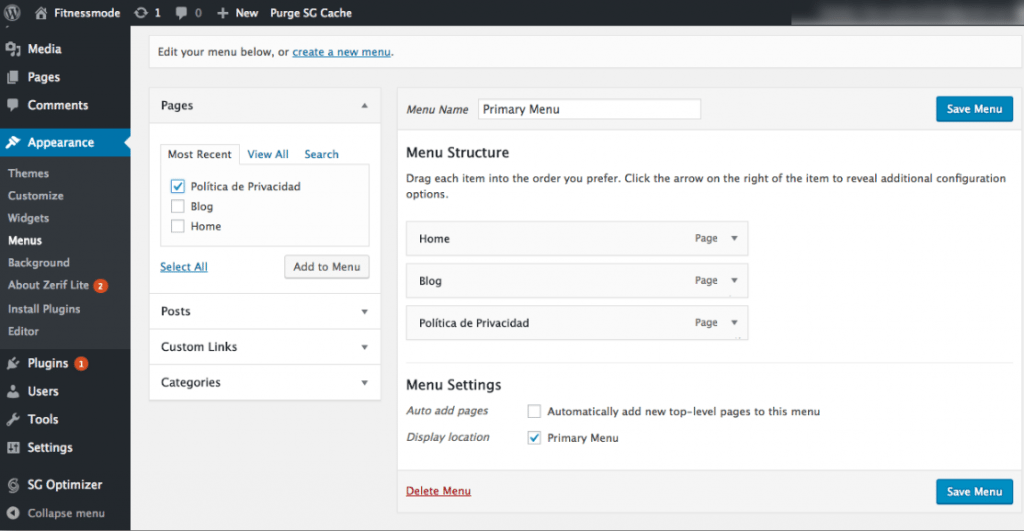


In order for this page to be visible in the main menu of your website, you must go to appearance either Appearance and click on Menu. Next you must add the page you just created to the menu.
To do so, select the checkbox privacy policy (in our case) and click on add to menu. Then click on Save either Save.
You have created your first page!
Before seeing how to create an article in wordpress, we want to ask you a favor. Simply vote from 1 to 5 to see how you’ve found this article so far. Thank you!
How to create my first article.
To create your first item, simply return to the dashboard. In the left panel look for the option post either tickets. If you hover over it, a new tab will open. Click on add new either New Entry.
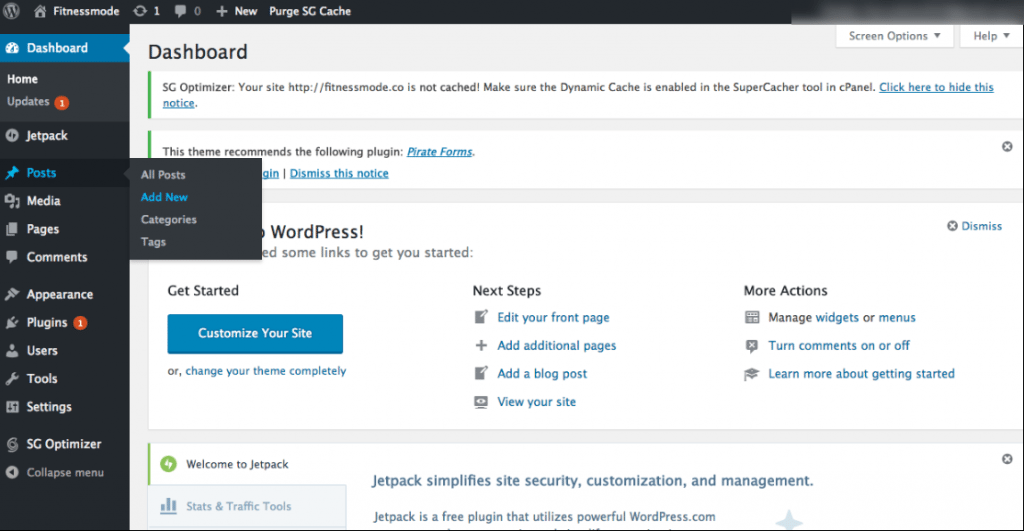


Next you will see on your screen something very similar to what you saw when you created a page.
You can add the title of your article and add the content in the text editor. In this case the title that we will use will be “Our first article”. And just like to create the page, We will add random text as article content.
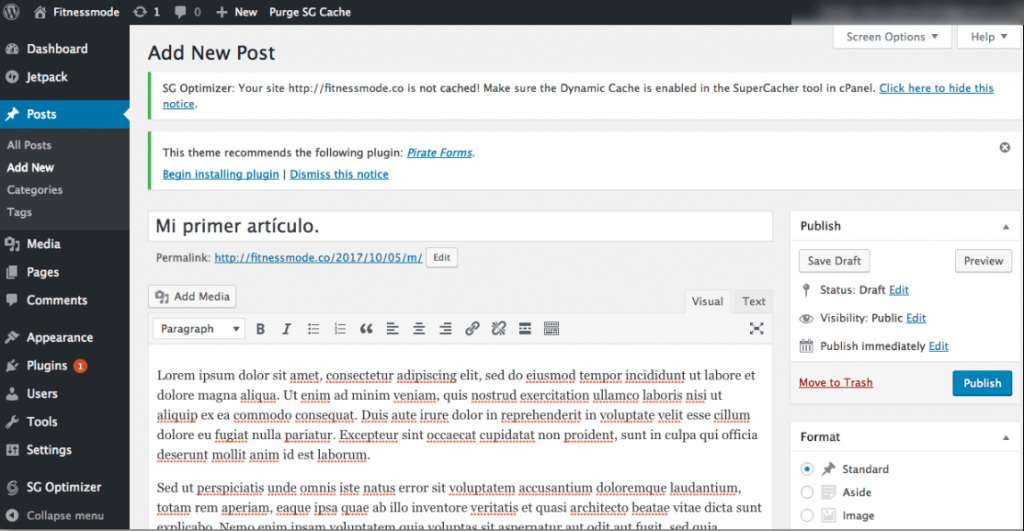


You can click on Safe Draft to save a draft of your article, or click on Publish to appear on your page.
If you want to add photos within the content you can use the button add media. Likewise, if you want the article to have a featured image or one outstanding imageyou can go to the bottom right and add it. The WordPress graphical interface is very easy to understand.
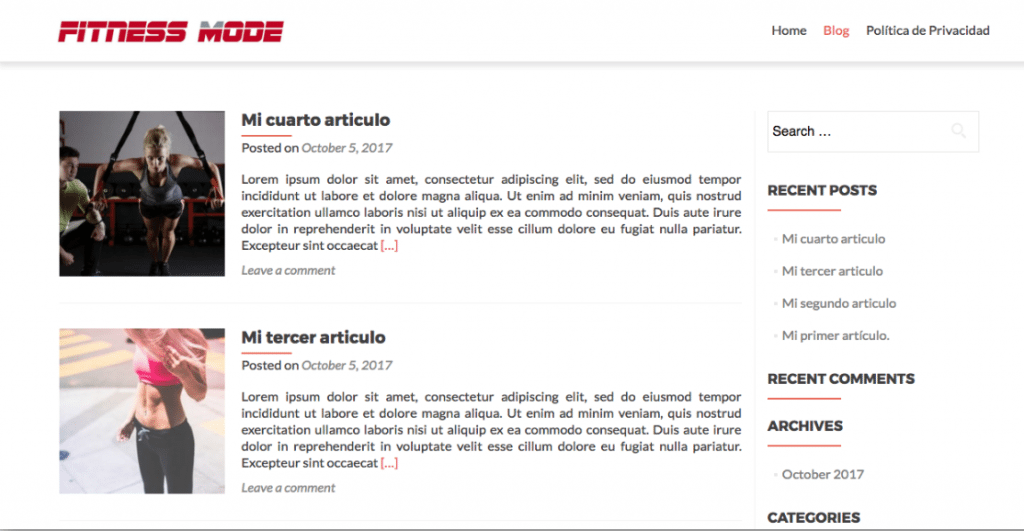
In the same way, we created three more articles so that you can see what the page would look like with more content. in the tab Blog you can see the items.


Conclusion.
This was just a taster of everything you can do with WordPress. Without counting that they exist themes Much more complex, but at the same time with excellent functions that will allow you to do everything you want.
The most important thing is that to learn how to design a blog, you don’t need to know how to code. The templates are very complete. And in case you want to do something very specific, you will find many forums to find information.
We hope these basic steps have been useful for you and are an introduction to learning how to design a blog and create content in wordpress.
If you have questions, feel free to leave them in the comments.
Note: The Fitnessmode.co website may no longer appear as it appears in the images in this article.
Also read:
And remember, if you are really interested in creating your own business, you can read our book “How to create a company while working: Discover how to manage your time, manage your money and motivate yourself while creating a company and working for another” , where you will find all the information you need to found your own company, without having to leave your job.
